DIY Fluorescence Microscope
In order to observe the result from the Comet Cell Assay 2018, SYBRsafe is added to color the tails. Before the observation of fluorescent process was not possible in the hacker space. It was thus decided to transform one of the microscope into a fluorescent microscope.
Biological Background
This dye is a epifluorescent one.(?) The molecules are excited when they receive a given wavelength (all wavelength < 509) and in reaction they emit another wavelength (524 nm).
Material Used
We get inspiration from the DIY Gel Transiluminator build by the GaudiLabs. (http://wiki.hackuarium.ch/w/Diy-transilluminator) We observe that this equipment allows us to observe reactions done with the SYBRsafe (?) and thus decided to mimic it. In short, blue LEDs are used for the excitation part. Then a yellow lens is added to remove specific wavelength and keep only that one of interest.
Results
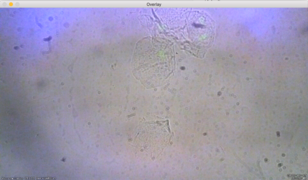
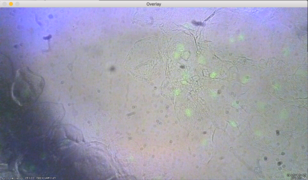
Overlay
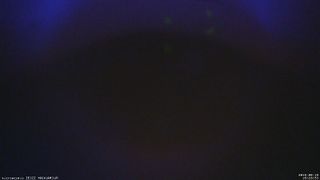
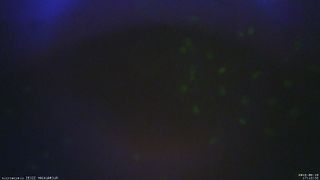
Fluorescence is visible through the Raspberry Pi Camera. An idea then is to implement a code to overlay the picture of the cell and the fluorescent picture. The goal of this overlay would be to confirm that the fluorescence comes from the nucleus.
Idea to improve the result
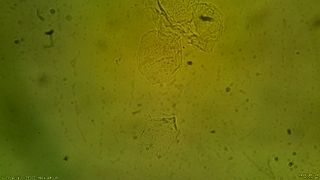
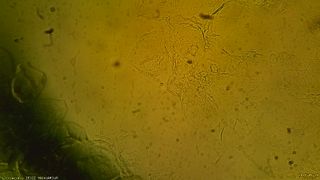
We observe that the resulting "phase" image in yellowish, this is due to the yellow lens that have been added. An idea would be to remove this lens to take the "phase" picture and add it only for the "fluo" one.
Available Code
No more used
This microscope works well to observe fluorescent nucleus but its resolution is not enough to observe comets. Thus it could not be used to assess the Comet Cell Assay 2018.
