Difference between revisions of "DIY Fluorescence Microscope"
| Line 25: | Line 25: | ||
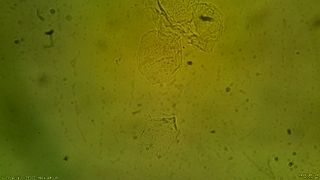
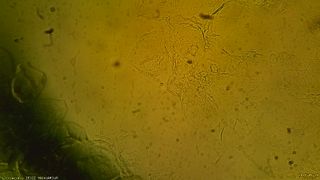
We observe that the resulting "phase" image in yellowish, this is due to the yellow lens that have been added. An idea would be to remove this lens to take the "phase" picture and add it only for the "fluo" one. | We observe that the resulting "phase" image in yellowish, this is due to the yellow lens that have been added. An idea would be to remove this lens to take the "phase" picture and add it only for the "fluo" one. | ||
| − | ==Available Code== | + | ===Available Code=== |
==No more used== | ==No more used== | ||
This microscope works well to observe fluorescent nucleus but its resolution is not enough to observe comets. Thus it could not be used to assess the [[Comet Cell Assay 2018]]. | This microscope works well to observe fluorescent nucleus but its resolution is not enough to observe comets. Thus it could not be used to assess the [[Comet Cell Assay 2018]]. | ||
Revision as of 08:33, 4 September 2018
Before the observation of fluorescent process was not possible in the hacker space. It was thus decided that transforming one of the microscope into a fluorescent microscope would be cool.
Background and Procedure
Results
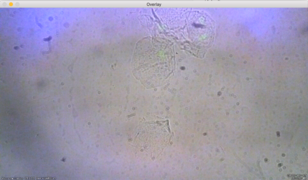
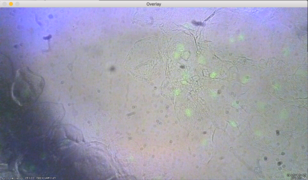
Overlay
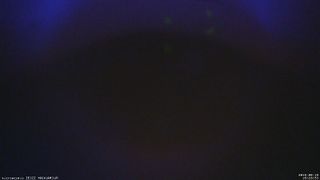
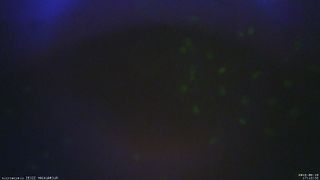
Fluorescence is visible through the Raspberry Pi Camera. An idea then is to implement a code to overlay the picture of the cell and the fluorescent picture. The goal of this overlay would be to confirm that the fluorescence comes from the nucleus.
Idea to improve the result
We observe that the resulting "phase" image in yellowish, this is due to the yellow lens that have been added. An idea would be to remove this lens to take the "phase" picture and add it only for the "fluo" one.
Available Code
No more used
This microscope works well to observe fluorescent nucleus but its resolution is not enough to observe comets. Thus it could not be used to assess the Comet Cell Assay 2018.
