Difference between revisions of "DIY Fluorescence Microscope"
Jump to navigation
Jump to search
| Line 9: | Line 9: | ||
<gallery perrow="5" mode="packed" widths="px" heights="px"> | <gallery perrow="5" mode="packed" widths="px" heights="px"> | ||
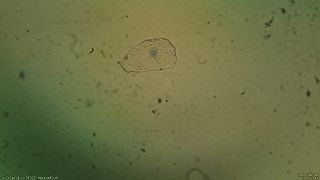
File:10-12-46.jpg|Phase | File:10-12-46.jpg|Phase | ||
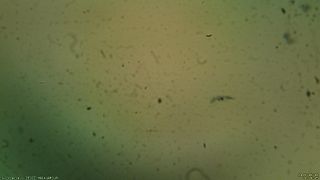
| − | File:10-14-05.jpg| | + | File:10-14-05.jpg|Fluo |
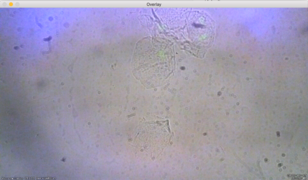
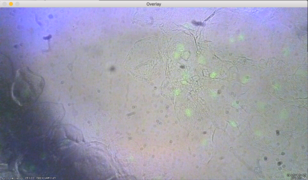
File:Overlay1.png|Overlay | File:Overlay1.png|Overlay | ||
</gallery> | </gallery> | ||
| Line 15: | Line 15: | ||
<gallery perrow="5" mode="packed" widths="px" heights="px"> | <gallery perrow="5" mode="packed" widths="px" heights="px"> | ||
File:10-12-46.jpg|Phase | File:10-12-46.jpg|Phase | ||
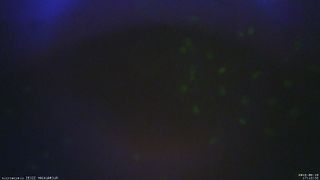
| − | File: | + | File:17-12-32.jpg|Fluo |
File:Overlay2.png|Overlay | File:Overlay2.png|Overlay | ||
</gallery> | </gallery> | ||
==Available Code== | ==Available Code== | ||
Revision as of 08:10, 4 September 2018
Before the observation of fluorescent process was not possible in the hacker space. It was thus decided that transforming one of the microscope into a fluorescent microscope would be cool.
Background and Procedure
Results
Fluorescence is visible through the Raspberry Pi Camera. An idea then is to implement a code to overlay the picture of the cell and the fluorescent picture. The goal of this overlay would be to confirm that the fluorescence comes from the nucleus.
